Your cart is currently empty.


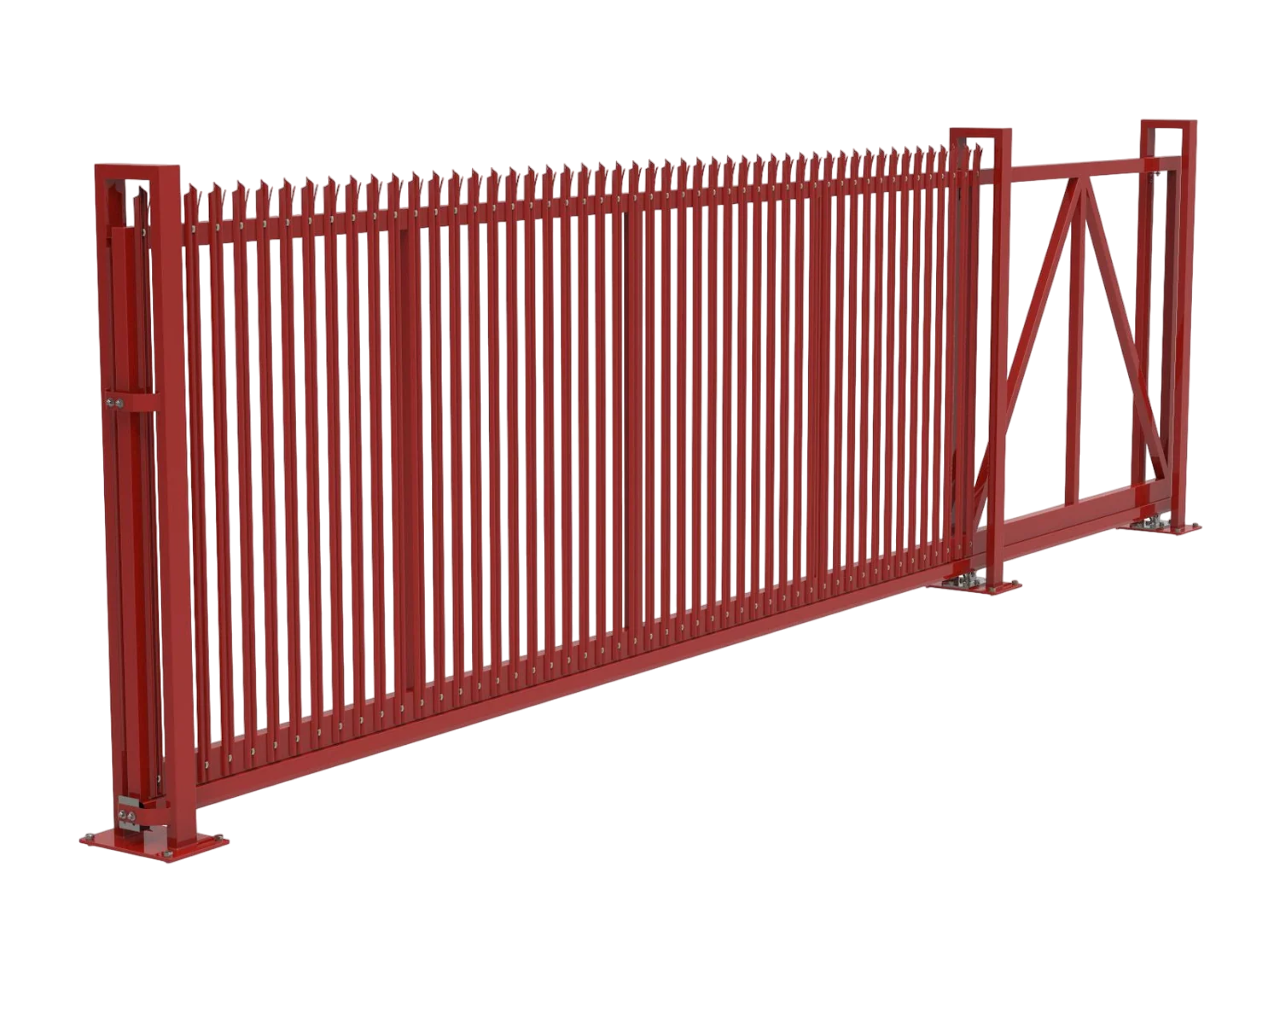
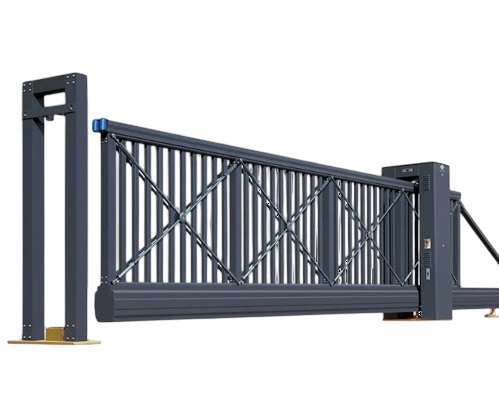


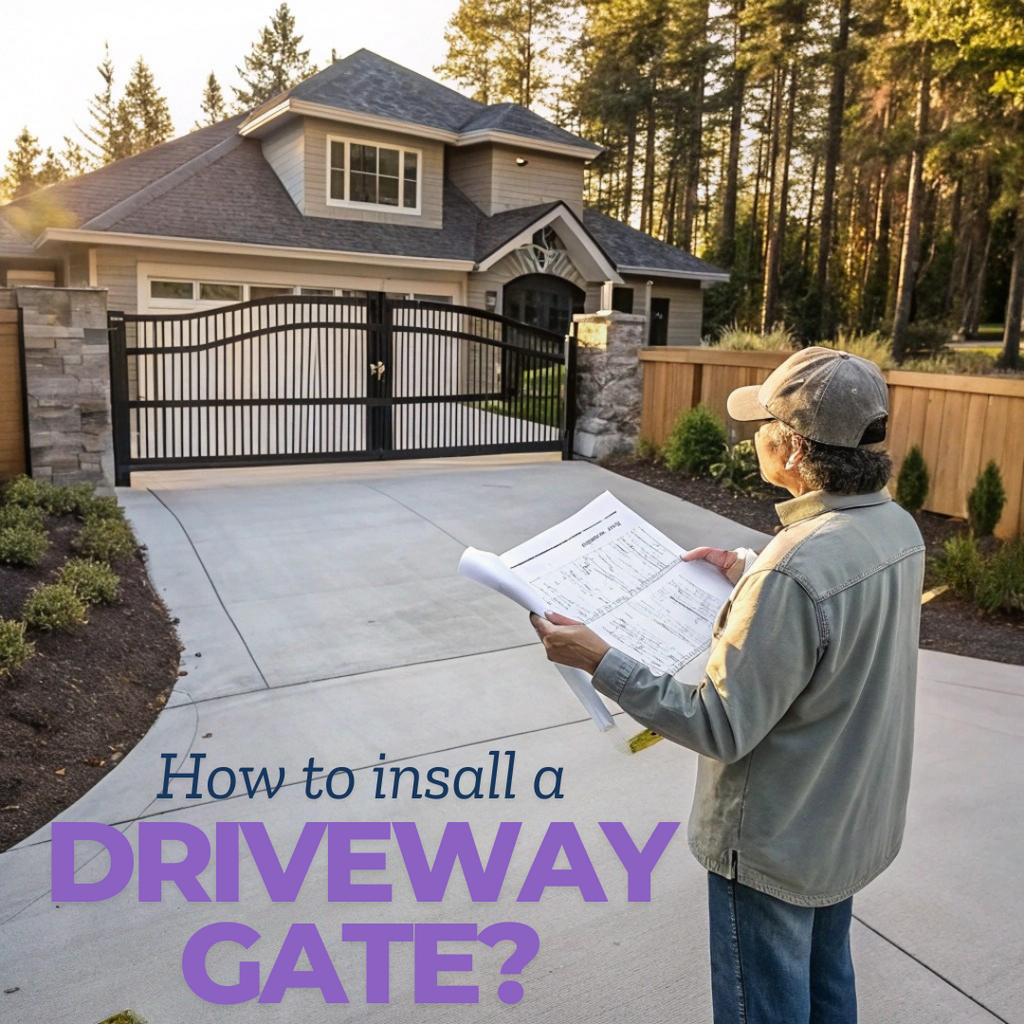
How to Install a driveway gate in 2025
Installing a metal gate transforms your property's security and curb appeal. This guide will walk you through every step of installing any driveway gate in 2025.

A well-installed metal gate serves multiple purposes:
● Enhanced Security: Creates a robust barrier against unauthorized access
● Property Value: Adds significant aesthetic appeal and market worth
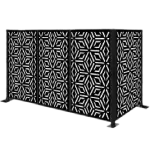
● Privacy: Establishes a clear boundary for your property
● Convenience: Offers controlled access, especially with automatic gate systems
This guide covers essential aspects of metal gate installation, from initial planning to final adjustments. You'll learn proper measurements, post-installation techniques, and crucial considerations for both manual and automatic gates.
Whether you're installing a single swing gate or a dual-panel system, these instructions apply to all metal gate types - steel, aluminum, or wrought iron. By following our detailed steps, you'll achieve a professional-grade installation that ensures your gate's longevity and smooth operation.
Step 1: Planning Your Metal Gate Installation
A thorough site evaluation sets the foundation for a successful metal gate installation. You'll need to measure your driveway width and assess the types of vehicles that will pass through regularly.
Recommended Gate Widths:
● Residential Access: 12 feet minimum
● Emergency Vehicle Access: 14 feet minimum
● Large Vehicle Requirements: 16 feet or wider
Your gate type selection depends on the available space and intended use. Single swing gates work well for openings up to 18 feet, while dual swing gates are ideal for spans exceeding 14 feet. Check out this completely private gate #896
Key Considerations:
● Traffic flow patterns
● Vehicle turning radius
● Property layout constraints
● Available installation space
A professional site survey can help identify potential obstacles, drainage issues, or terrain challenges that might affect your gate installation. This assessment prevents costly modifications later and ensures your gate functions properly for years to come.
Step 2: Preparing the Site for Installation

The swing direction of your metal gate impacts its functionality and safety. You'll need to choose between:
● Pull to Open - The gate swings into your property
● Push to Open - The gate swings outward toward the street
Your decision depends on:
● Driveway slope angle
● Available space for gate movement
● Local regulations
● Presence of obstacles like trees or structures
Ground clearance plays a crucial role in your gate's longevity. Set your gate:
● 3-4 inches above ground for areas with frost heave
● 6-12 inches clearance in heavy snowfall regions
● Higher clearance on sloped driveways
The proper ground clearance prevents:
● Gate dragging
● Weather-related damage
● Binding during operation
● Premature wear on hinges
Check your local building codes for specific clearance requirements. Consider seasonal changes and weather patterns when determining the optimal height for your installation.
Step 3: Power Supply Considerations for Automatic Gates


Automatic driveway gates require a reliable power source for seamless operation. You'll need to plan your power supply setup before starting the installation process.
Standard Power Options:
● 110V AC power connection from your home
● Solar-powered systems for remote locations
● Battery backup systems for power outages
Wiring Requirements for Dual Swing Gates:
● Install PVC conduit beneath the driveway
● Minimum conduit size: 1-inch diameter
● Burial depth: 18 inches below ground level
● Run separate conduits for high and low-voltage
Professional Installation Tips:
● Contact a licensed electrician to assess power requirements
● Install a dedicated circuit breaker for your gate system
● Place weatherproof electrical boxes near each gate post
● Include additional conduit for future accessories (keypads, cameras)
A qualified electrician can help determine the most suitable power configuration based on your gate's location, usage patterns, and local building codes. They'll ensure proper voltage requirements and safety standards are met during installation.
Step 4: Installing Metal Posts


The foundation of a secure metal gate lies in properly installed posts. You'll need to dig post holes at least 36 inches deep, extending below your area's frost line to prevent shifting during freeze-thaw cycles.
Post Hole Requirements:
● Minimum depth: 36 inches
● Width: 3x the post diameter
● Level bottom surface
● Clean sides for better concrete adhesion
Concrete Pouring Technique:
1. Place the post in the hole
2. Use temporary bracing to hold the post position
3. Check plumb with a level on two sides
4. Pour concrete gradually while checking the alignment
5. Tamp concrete to remove air pockets
Concrete Requirements by Gate Material:
Steel Gates:
● 100-150 lbs of concrete per foot of gate length
● Higher concrete grade (3000 PSI minimum)
● Reinforcement bars recommended
Aluminum Gates:
● 50-75 lbs of concrete per foot of gate length
● Standard concrete mix (2500 PSI)
● Basic reinforcement sufficient
Your post positions must be perfectly aligned and level. A laser level helps ensure precise placement. Allow the concrete to set according to manufacturer specifications - typically 24 hours for the initial set, though full cure takes longer.
For areas with sandy or unstable soil, consider using concrete forms or sonotubes to maintain hole shape during the pour. This prevents concrete waste and ensures uniform post support.
Step 5: Installing Your Metal Gate

The installation method you choose can significantly impact your gate's final alignment and functionality. You have two proven approaches to consider:
Method 1: Set All Posts First
● Install all posts simultaneously
● Allows precise measurement and alignment
● Requires experience and expertise
● Best for professional installers
● Higher risk of misalignment without proper tools
Method 2: One Post at a Time
● Install each post and panel sequentially
● Easier for DIY installations
● Provides better control over alignment
● Takes longer to complete
● Recommended for first-time installers
Blocks and spacers play a crucial role in achieving perfect gate alignment. Place 2x4 wooden blocks under your gate panels during installation to:
● Maintain consistent ground clearance
● Support the gate's weight during adjustment
● Prevent panel sagging
● Enable precise positioning
For optimal results, position spacer blocks between:
1. Gate panels and posts (1/2 inch gap)
2. Center of dual gates (1-inch gap)
3. Bottom of gate and ground (3-4 inches minimum)
Using a level throughout the installation process helps ensure your gate panels hang straight and operate smoothly. Check both horizontal and vertical alignment at multiple points as you secure each component.
Step 6: Making Final Adjustments and Allowing Curing Time
After securing your metal gate in place, you'll need to perform essential adjustments and allow proper curing time. Here's what you need to do:
Adjustment Checklist:
● Check gate levelness using a spirit level
● Verify equal spacing between posts and gate panels
● Test gate swing motion for smoothness
● Adjust hinges if needed to achieve proper alignment
● Ensure latch mechanisms engage correctly
Concrete Curing Requirements:
● Light operation: 36 hours minimum
● Full operation: 72 hours recommended
The curing process varies based on weather conditions. Humid environments require longer curing times, while dry conditions might need periodic water spraying to prevent cracking. You can protect the concrete during curing by covering it with plastic sheeting.
During the curing period, support your gate panels with temporary braces to maintain alignment. This prevents stress on the posts while the concrete develops its full strength. The braces should remain in place for the entire curing duration.
Conclusion
Installing your metal gate doesn't need to be a daunting task. With the steps outlined in this guide, you can tackle this project with confidence and achieve professional results.
Your successful metal gate installation brings enhanced security and curb appeal to your property. Remember these key maintenance tips to protect your investment:
● Clean the gate surfaces regularly with mild soap and water
● Lubricate hinges and moving parts every 3-6 months
● Check for loose bolts or signs of wear quarterly
● Touch up any scratches or chips in the finish promptly
Ready to start your driveway gate project? Gather your materials, follow our installation steps, and transform your property entrance. Your new metal gate awaits - let's build it right.
FAQs (Frequently Asked Questions)
-
What are the benefits of installing a metal driveway gate?
Installing a metal driveway gate enhances security and adds aesthetic appeal to your property. It serves as a physical barrier to unauthorized access while also providing a stylish entrance.
-
How do I determine the appropriate width for my metal gate?
Site evaluation is crucial for determining the appropriate width of your gate. Consider the size of your vehicles and traffic needs, ensuring that the selected width accommodates residential and emergency vehicle access.
-
What should I consider when preparing the site for installation?
When preparing the site, determine the swing direction of the gate (pull to open vs. push to open) and ensure proper ground clearance to account for frost heave and snowfall considerations.
-
What power supply options are available for automatic gates?
For automatic gates, you may need to install a conduit beneath the driveway for wiring, especially in dual swing gates. It's essential to consult with a local electrician regarding power supply questions.
-
What is the recommended curing time after installing metal posts?
After installing your metal posts, it is important to allow adequate curing time for the concrete to set and strengthen fully. This ensures stability and functionality before operating the gates.
Gate Experts are just a call away +1 289-999-2334
All gates are Custom made in Canada 🇨🇦
Contact Us for a Custom Gate
Our team would love to hear form you!